


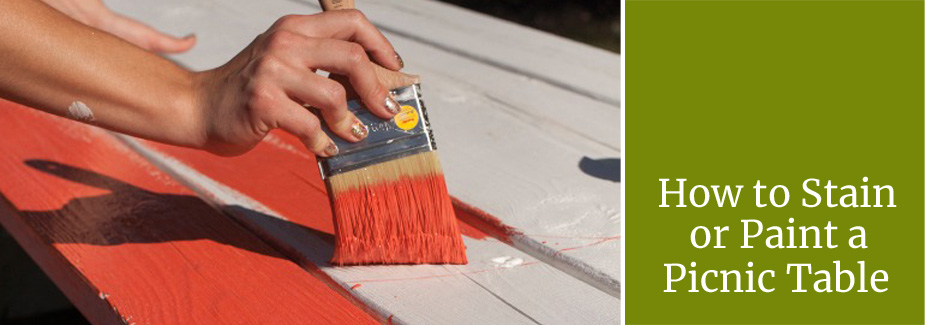
A good primer and two coats make the difference between a finish that lasts one season and one that lasts several.
How Do You Paint or Stain a Picnic Table?
Quick answer: Clean the table, let it dry, sand with the grain, prime, then apply two coats of paint or stain. Oil-based finishes last longer; water-based finishes clean up easier.
When the weather's fine, few things beat sharing a meal outside. Whether you're finishing an unfinished picnic table, like our Traditional Picnic Table, or refinishing one showing its age, here's how to get the best results.
Paint or Stain: Which Should You Choose?
Paint fully covers the wood and lets you match a color scheme; stain protects the wood while showing off the grain. Painted tables are best suited to covered outdoor areas and shouldn't be left fully exposed to the weather for long periods. If your table will sit out in the elements, stain is the better choice. Both need the same prep.
Oil-Based vs. Water-Based, at a Glance
| Feature | Oil-Based | Water-Based |
|---|---|---|
| Durability | More durable, more protective | Good, but needs more frequent reapplication |
| Clean-up | Mineral spirits | Soap and water |
| Odor / Environment | Stronger odor, less eco-friendly | Low odor, more environmentally friendly |
Want more detail on choosing between the two? See our guides on Oil-Based vs. Water-Based Stains and Types of Stains & Sealers.
Step-by-Step: Painting or Staining Your Picnic Table
Step 1: Clean thoroughly. Use a pressure washer or a scrub brush with soapy water to remove dirt, debris, and old paint. Let the table dry completely.
Step 2: Sand with the grain. Fine-grit sandpaper helps each coat adhere better — this step matters even more when refinishing.
Step 3: Prime. A primer suited to your table's material and exterior use helps paint adhere, prevents chipping and peeling, and creates a smoother finish. Apply evenly with a brush or roller and let it dry per the label.
Step 4: Apply the first coat. Spread paint or stain as evenly as possible to avoid visible brushstrokes.
Step 5: Apply a second coat. A second coat adds durability and a richer, more even color.
Step 6: Let it dry fully before use — then it's time to picnic.
Prefer not to DIY? Our pine picnic tables can be ordered painted or stained for you: the Cross-legged Table, the Traditional Table, and the Traditional Table with Backed Benches. Or browse our furniture care products for everything you need to finish it yourself. Adding shade? See what size umbrella fits your picnic table.
Frequently Asked Questions
Should I paint or stain my picnic table?
Either works. Paint fully covers the wood and lets you match a color scheme, but painted tables are best kept in covered areas. Stain protects the wood while showing off the grain and is recommended for tables that will face prolonged weather exposure. Both require the same prep: clean, sand, prime, then two coats.
Should I use oil-based or water-based paint on a picnic table?
Oil-based finishes are generally more durable but have a stronger odor and need mineral spirits for clean-up. Water-based finishes clean up with soap and water and are more eco-friendly, though they may need more frequent reapplication.
Do I need to prime a picnic table before painting it?
Yes — a primer suited to the material and exterior use helps the paint adhere, prevents chipping and peeling, and creates a smoother finish.
